Wednesday, December 21, 2011

Week 12 - Colour Book making

At college this week we learnt how to do a simple book-binding stitch to sew the pages of our book together. We created 3 long stitches, through which we will later thread ribbon to 'bind' the pages together.
The cover of our book is made from mount board cut slightly larger than the pages, covered in crinkled tissue paper and painted in a distressed and gilded finish. I cut out the letters for the word 'colour' from old card in the hope that they would give enough texture under the tissue to show up when it is finished. The whole lot was coated in watered-down PVA before applying the tissue paper.
I experimented on a sample at to whether it mattered what colour the tissue paper was and felt that a darker colour gave a better effect so used purple. The tissue paper was scrunched up into a ball first but it was still difficult to get a nice wrinkled finish. I then coated the whole lot with watered-down PVA again to give it strength.
Now for the fun bit! Using acrylic paints I painted the background with orange, yellow and red streaks. You have to work it into all the wrinkles so it looks really garish at this stage. Next I picked out the lettering in red, orange, yellow, green, blue and purple. The first 3 letters looked good but I was worried that the last 3 looked too obvious. Finally with a very dry brush and hardly any paint I skimmed the tops of the tissue wrinkles with blue and purple paint to bring out the texture and add depth. You can see that I also worked some of the darker colour round the edges for interest.
The last stage was to rub on the gilding cream. You have to do this sparingly as you cannot get it off again if you use too much. I wiped a small amount on a piece of kitchen paper and then stroked it across the 'tops' till I was happy with the effect. Then using my fingers I applied more to the lettering to tone them in further.

Of course I had to do the same for the back cover and also fold the tissue paper over the edges and glue, paint and gild them on the inside as a bit will show around the edges.

I am pleased with the final result - it is amazing what you can do with tissue paper, glue and paint!

I have also been working on the inside pages - see a few below. Overall this has inspired me less than the zig-zag line book shown on the blog in week 10. I think this is because the pages are so small (about the size of a normal paper-back book).


At the end of the class we all made a 'Beady Bod'. This is a fun thing that our tutor sometimes does at shows etc. It has a brooch back and is only about 9cm high, including the legs. This is mine, although it is not really my sort of thing I will pin him on my bag with all the other 'makes'.
At we were leaving our class we noticed that the floristry students in the classroom next door had been busy doing beautiful Christmas displays like this.


Monday, December 12, 2011

Week 11 - Brusho pages and Water-Soluable Lace


Wet pages
At college this week we started by making a book in which to eventually display our colour design work. Using lining paper from the DIY shop we ripped strips off the height of our pages. These were then folded in half, ripped and then folded in half again. This makes what is called a 'signature' in the book-binding world (i.e 4 pages/8 sides).
Dry pages

We then mixed up 4 colours of Brusho (powdered pigment ink) and painted both sides of the pieces and left them in a stack, overlapping at angles to let them dry.


This results in random blotches and mottles as the paint and water seep through the stack. Next week we will learn how to stitch the pages together to make the book.
Then we moved on to create a piece of 'lace' using water-soluable fabric. This stuff comes in a number of forms but we were using something called 'Romeo', which looks like thick cling-film. We snipped bits of fabric and thread onto a piece of the film and then pinned another piece on top, ensuring that there were still some gaps.

Using the free-motion embroidery technique we stitched all the way around the edge and then across the centres to secure the fabric snips in their plastic envelope.

Back
Next we had to stitch across the whole surface in a steady motion, making sure that we overlapped with the previous row of stitches. I chose to go in a circular loopy pattern. You have to hold up your piece to check that it is the same density of stitching all over and that all areas are interlinked else it will fall apart when you dissolve the film away.

A quick rinse in hot water dissolves the film and you are left with a limp looking coloured spider's web! It is re-shaped as you spread it out to dry.

Front
I am pleased with mine - no holes that fell apart, although I did have a real problem with my machine again as I broke 4 needles making it.

Although it is very lacy it is amazing how different it is on the front and back. The lace has remained quite stiff too - I don't know if this would disappear if I rinsed it more thoroughly.
Our tutor showed us how to make a contemporary christmas tree out of an old magazine - she had read how to do this in one of the Sunday papers. I really liked it so here is one I made out of a Hotel Chocolat catalogue, as I always seem to have them lying around!

To make it you just fold each page diagonally inwards, and then again and fold the bottom triangle up on each page (see below) . This makes 'half' a tree so you need 2 brochures/magazines to make a full circle. I might dip the edges in glue and glitter to enhance the christmas feeling.


If you want more ideas for beautiful paper decorations to make, I spotted this star in a shop window which reminded me that I made these at my parents' house last year. The instructions are here.

Finally, I went to see the terracotta horses in the local heritage centre. These are just a few of them - there are 468 in total. They were made by visitors to the centre as part of the Arts Festival, so each one is decorated in a different way and they have all been given a name. They commemorate the war horses of  WW1, where people were encouraged to give up their domestic or working horses for the war effort. They were bought to a Remount Centre, one of which was on the outskirts of Romsey, to be fitted out for war. Most of them didn't come home. You can see the free exhibition in the garden at King John's House until Christmas.

Sunday, December 4, 2011

Week 10 - Blackwork and Finished Line Book

This is the image chosen for the Brickworks Christmas Card/web message. I had the brainwave of covering the cut-out with greaseproof paper to filter the light and so photographed it with candles behind to give a nice glow.

At college this week we concluded our work on colours by mixing and printing tints (i.e by adding white) and shades (i.e. by adding black) of the primary and secondary colours. We used found objects, such as bottle tops and electrical blocks to do the printing and got quite messy doing this!
Then we went on to create a grey-scale collage out of newsprint, the idea being to choose pieces of different tonal values. I went for a stylised flower bell shape and drew the stems in afterwards.

We then chose an interesting portion of our collage with the intention of stitching it in machine pattern blackwork.

Blackwork is a very old form of embroidery where different patterns, usually fairly geometric, are hand-stitched in black thread on white fabric.
First we tried different stitches out on a sample using a twin-needle in our sewing machines. This required 2 reels of thread, a special double needle and a single bobbin. Unfortunately, although my machine would do straight stitching it just wouldn't do any of the patterns with the twin needle - I just got a loopy mess on the back and then it would jam. I had a go on a college machine and the patterns are wonderful.

Our homework was to create a formal blackwork sampler of different stitches using machine patterns to create different densities of black. I completed mine with a normal single needle, however I still had problems with my machine as it appears to not feed evenly so that some of the patterns don't line up e.g. bottom middle square.

Some interesting patterns did emerge from the unpromising set of patterns that my machine can do. The most surprising ones were the 3rd row middle and bottom row right hand squares.

I edged the squares in bands of black satin stitch - not particularly elegant but solved the problem of how to secure all the loose ends created when you had to keep starting a new row in the pattern. This took ages so I haven't attempted to use the patterns to sew a portion of my collage above.

I have had fun this weekend creating some Christmas cards using paper and machine stitching. It took quite a while to come up with the designs, choose the different papers and then test the techniques with the sewing machine.

This robin features a real twig and the following are variations on a tree design, the last one using some security printing patterns from the inside of envelopes.


Finally, I have finished my Line Book as it has to be handed in tomorrow. In the end I decided to secure it with this striking ribbon.

Here are photos of the whole book in the order in which they appear. I hope my tutor likes it.
Fat and thin lines

Angular lines

Curvilinear lines

Lines evoking a mood

Cross-hatching

Overlaid lines

Monday, November 28, 2011

Week 9 - Dyeing

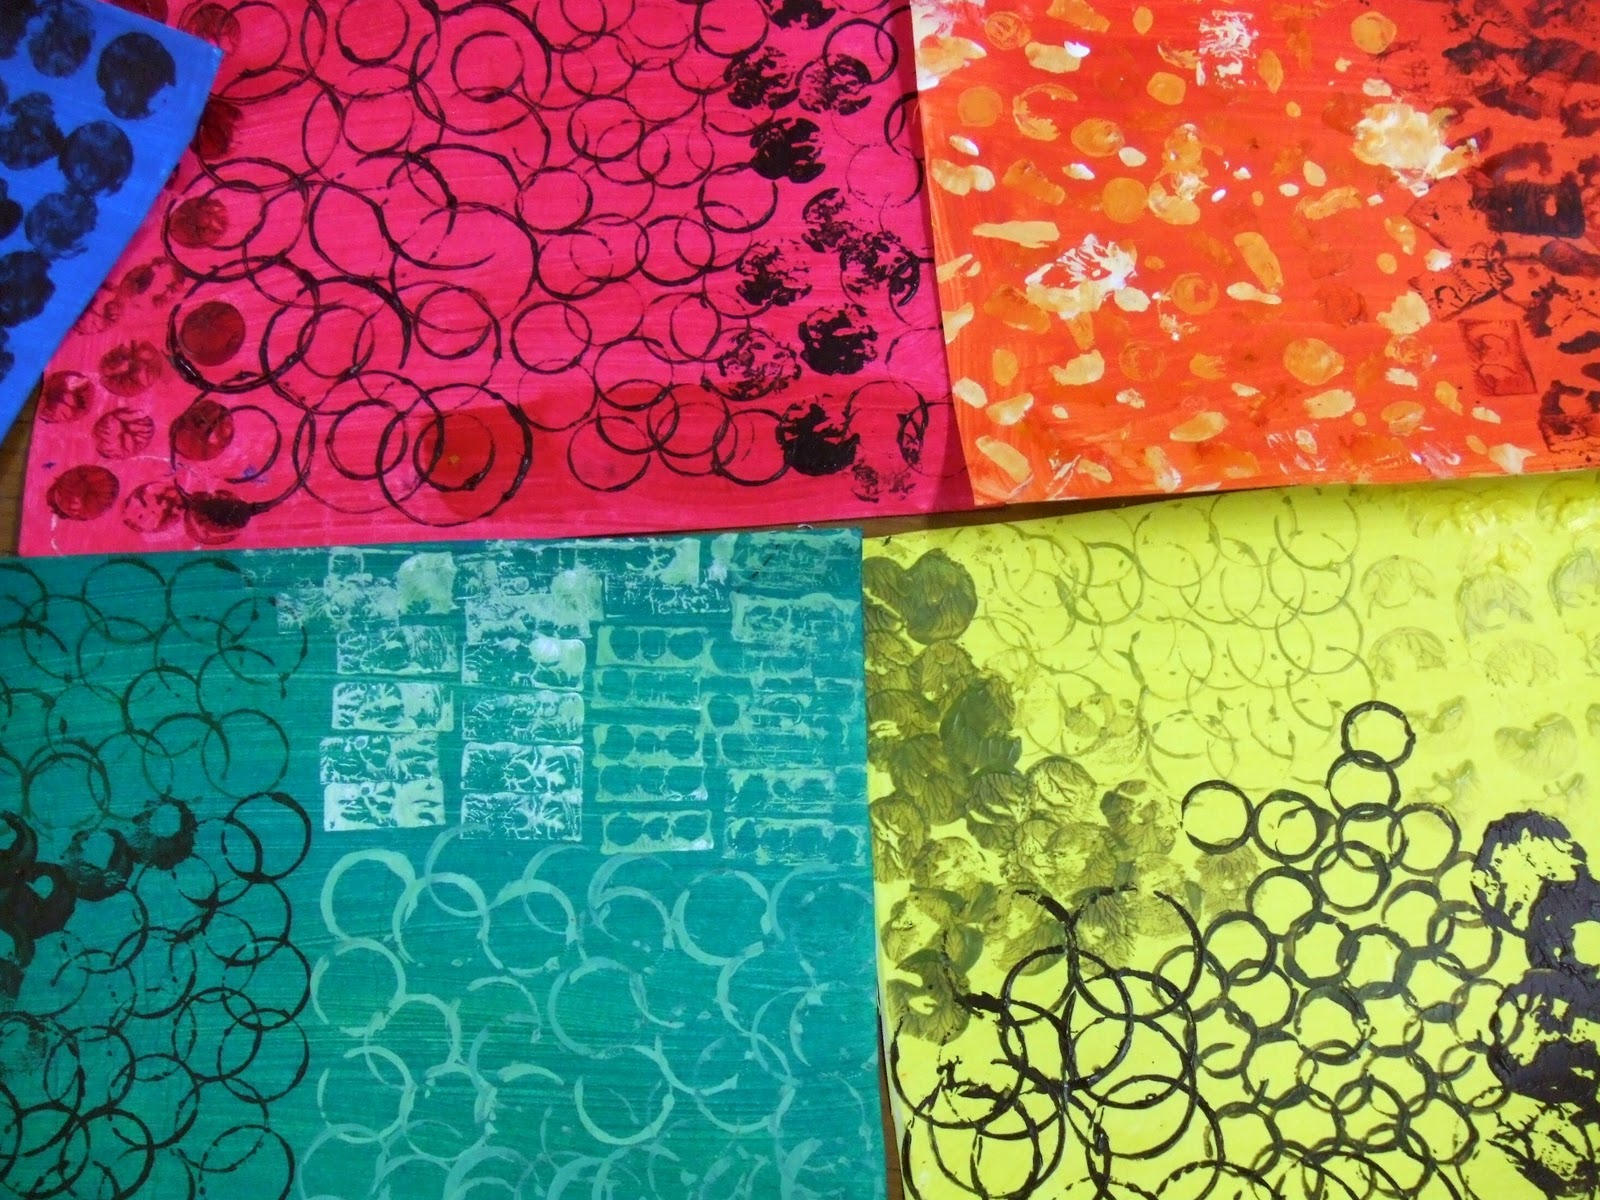
College was a messy affair this week as we started to learn about dyeing fabrics. We began with Transfer or Disperse Dyes. These were either liquid, like ink, or solid, like a wax crayon, and had to be applied to very thin Layout Paper. We were shown a few ideas and then let loose!

Here, I scrunched the paper and then splashed on the liquid dyes and let them mix.
Here I painted on a more controlled pattern and then splashed on yellow. The colour of the dyes on the paper is much more muted than the final colour.
Here I painted on a photocopy in the hope that the black photocopy ink would provide a resist to the dye and appear white on the fabric.

The liquid dyes have to be fully dry before you can transfer them to the fabric.
Rubbings of leaves with hand drawn leaves round the edge. This was done with the wax crayon type of dye.
Finally, more rubbings of outdoor surfaces at the college - treadplate, concrete slab, fence post, brick wall etc. This piece is ripped randomly ready for the next stage.

The dye is transferred to the fabric by using a very hot iron. These kinds of dyes only work on synthetic fabrics, like polycotton or net curtain. All fabrics for dyeing have to be machine washed and ironed before use, so you know what I was doing last weekend!
So here are the results after transfer onto fabric. The colours are much brighter. You can iron the image more than once, until the dye is spent. I thought that the blue and red stripy one was a bit boring after transfer so I ripped it up and re-ironed it and it became much more interesting.

It was hard to keep the paper stationary as you ironed it as you had to press hard and keep the iron moving so that you don't get blank 'steam holes'.
Here is the surface rubbings one on a sheer fabric so the colours are not as strong. The pieces were moved and re-ironed many times to make a kind of patchwork image - wish I had chosen better colours!
Next we moved onto Procion dyes which only work on natural fabrics. The fabric has to be wetted with a mordant, which helps the dye bind chemically to the fibres of the fabric. We used salt water and a solution of soda ash as our mordants - a couple of tablespoons of each on each piece of fabric. We then squirted in the liquid dye - a different colour on each end and let them mix naturally. All this took place in a plastic bag so we couldn't really control the final effect. These were left for 24 hours for the dye to fix before rinsing out with cold water and washing in hot.
Here are the results. I dyed muslin and calico samples. I think because the muslin is thinner I could get more folds and creases in the fabric and so more marbling.
Finally we were shown a method of colouring fabric without the need for specialist dyes using acrylic paint. We mixed cyan, yellow and magenta paint 50:50 with water and then painted them onto the fabric without the colours touching. By folding and rolling the fabric the colours mix where they touch. It is then hung up to dry before ironing (top two brighter pieces).
Your table is now covered with acrylic paint so we used a second piece of fabric to mop up the excess, producing the paler pieces at the bottom.
On Friday I went with a couple of ladies from my college course to see 2 exhibitions locally. The first was Material World at the Hillier Gardens, an exhibition of textile art. We were allowed to take photos so here are my favourites.
by Lorna Abel

by Lorna Abel

Sunset by Cindy Rose
by Maureen Evans

Summer Diagonal Paper Fusion


Cushion centre

I love the use of maps on this
Calm Waters by Lorna Abel
I bought this handbag decoration because I love the shape and I am always interested in how things like this are made to see if I could make one myself. The flower appears to be stiff silk but I don't know how it has been treated to stop fraying. The centre is a mother of pearl 'bead'.
I wanted to buy one of these vintage button brooches but in the end decided I could make one as they were £12 each!

Then we went on to an exhibition at Mottisfont Abbey called Cutting Edge. This focuses on different uses of paper. We were privileged to see works by Rob Ryan, who cuts the most intricate details out of whole sheets of paper, but no photographs were allowed. See his work on his blog.

I did photograph this amazing piece by local artist Eileen White.

At the weekend I submitted some designs for the Bursledon Brickworks Industrial Museum christmas card. I cut an image of their logo out of black card and added stars in the sky. I experimented with different backing papers - here are just a few of the many. I'll update the blog when we finally choose one.


Finally I got round to buying a frame and doing something with some beautiful hand printed gift tags by Sarah Hough I bought on the Salisbury Art Trail in October. I have simply mounted them on a piece of linen. As ever, my favourite one is the cow parsley/allium head type one.