This week we made paper. It was very interesting, creative, fun and wet! Prior to the class we prepared our paper. I ripped coloured serviettes, used white envelopes and old Primark bags into 1 inch strips. You have to keep the colours separate else the resulting pulp can turn a murky colour.
Each batch of ripped paper is soaked briefly in water and then whizzed in a blender until reduced to a pulp with lots of water. The pulp is tipped into a large plastic tray half full of water.
You then put a piece of mesh into the pulp tray and bring it up to the surface to trap the pulp. We used car body repair mesh. This is laid down carefully onto a kitchen cloth sitting on a pile of old newspapers to soak up the water. You can repeat as many times as necessary to get the size and thickness of paper you want. It is amazing how much water it holds onto, even on the mesh.
You can layer different colours of pulp on top of each other, make holes or embed things in the pulp. Here I did a layer of black, added some old stamps and then did a thin layer of white.
After each sheet of paper you just lay another kitchen cloth on top and make another piece till you have a big stack of wet paper sheets.
To squeeze out the water you put a piece of wood on top and carefully stand on it. It is recommended to do this outside and also for another person to hold onto you for stability otherwise you can aquaplane. Unused pulp is chucked on the compost heap as it will block the sink!
I put the stack of damp papers, still on their cloths in the airing cupboard for a few days and ironed them to remove the last bit of damp as I separated them out.
Here are some of my dried pieces. Trapped in the papers are hole-punch waste, bits of thread, dried flowers, tea leaves, onion skins and postage stamps. Unfortunately the red colour from one pulp bled through into its neighbours in the stack and likewise with the onion skins.
This was my favourite one - black pulp with threads embedded.
You can also drag unravelled sisal string through the pulp and add extra bits with the mesh to create something more dynamic than a flat sheet of paper.
Then we moved on to create a paper pulp bowl using the old brown bags. We started by covering an object that would be the mould with layers of cling-film. To give the final bowl strength and texture we unravelled lengths of sisal string - enough to cover the mould.
Then we dragged the string, bit by bit, through the pulp and laid it over the mould to provide the foundation layer.
We added more pulp with our mesh to cover the string completely and make an even layer all over. It was pretty easy to do - much easier than trying to make a bowl using the traditional papier mache method.
Then I had to get it home in the car and leave it to dry next to the radiator for 3 days.
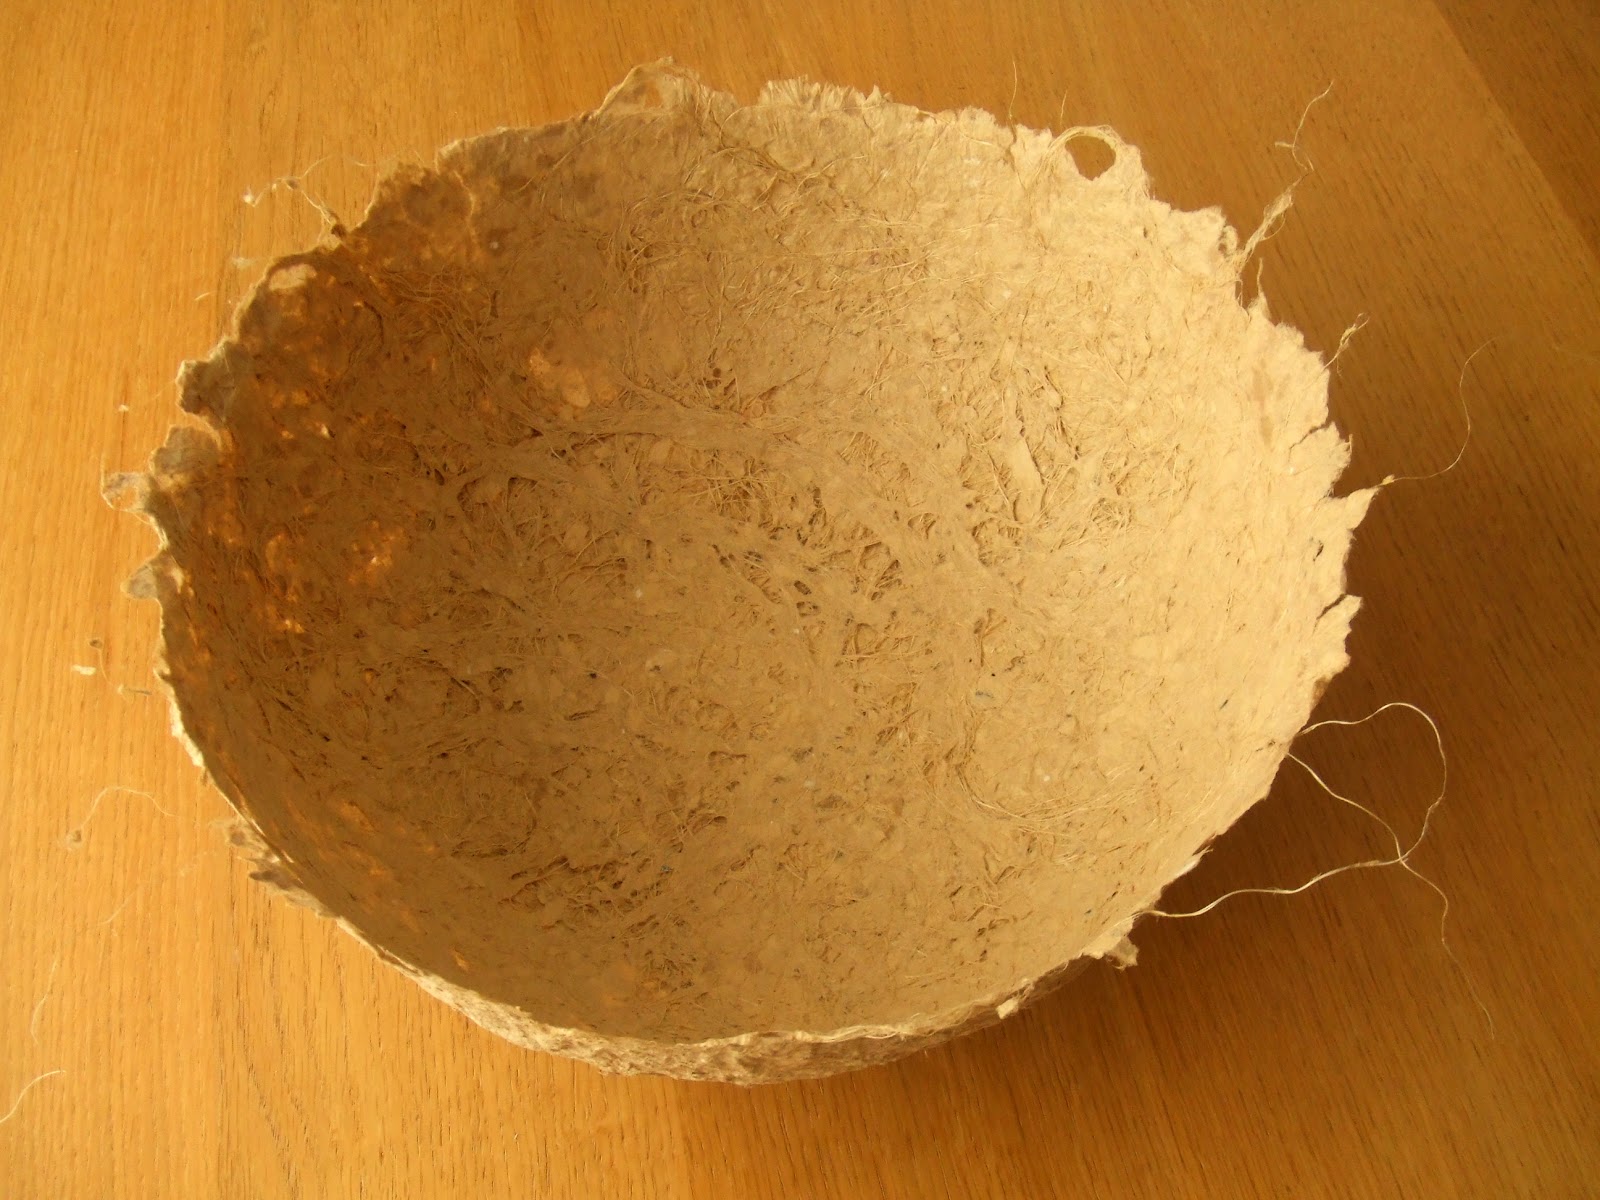
It was difficult to get the bowl off the mould once it was dry. I pulled at the cling-film and wiggled it as much as possible. I was scared of tearing the edges as they are naturally much thinner and more fragile. Eventually it just popped off.
I was very pleased with the result. It has much more texture on the inside than the outside because of the string.
The uneven edge adds a lot to its charm.
I was itching to see if I could sew into it so after checking at college that it wouldn't ruin my machine, I gave it a go.
I did free-machining in 4 colours in a band around the edge. You cannot get the bowl any further under the machine anyway and stitching it was a lot easier than I expected.
I think I will paint the outside a dark colour for contrast and it is advisable to also give it a coat of PVA glue to make it moisture resistant. We have made this bowl to display all our texture design work in, in the form of 'stones' so I will need to finish those off next.
This week we also started on the topic of 'Shape', the last of our design topics. We began with tessellation. Take a square of paper and cut a random shape out of one edge and stick it on the opposite edge.
You can then transfer this to card to create a template to draw round and then start tessellating!
I tried switching the direction of the template and also making the zig-zag lines join up but it is still a bit boring.
So then I tried a curvy shape, which was a bit more interesting.
Finally I went for it by cutting into 2 of the edges and creating this. It can still be improved on a lot so I will no doubt be reflecting on this over the coming weeks as we need to more of this to put into our Shape design books.